St Patty's DIY Door Decor
Get your green on! St Patty's Day is coming soon!
 You only need a few items for this Patty's Day Door Decor:
Scrap wood ~ same size
Sandpaper
St Patty's Day image
Paint ~ green, white, black
18 Eye Hooks
Needle-nose pliers
Green Ribbon
I found this free printable image at Blooming Homestead
 Since the image was square I selected 5 square scrap pieces of wood and traced the image on to each one.
 I mixed up my design with a variety of greens and white.

I also painted the sides of the wood black.
 Then I used some sandpaper and sanded the edges down. I also sanded across the top of the image to give a vintage look.
 I drilled small holes along the tops of all the squares and along all the bottoms except for the last square.
 Next I grab the eye hooks. I wanted to link the eye hooks together so I needed my needle-nose pliers. I bent open the eye and slipped another eye on before closing it back up.
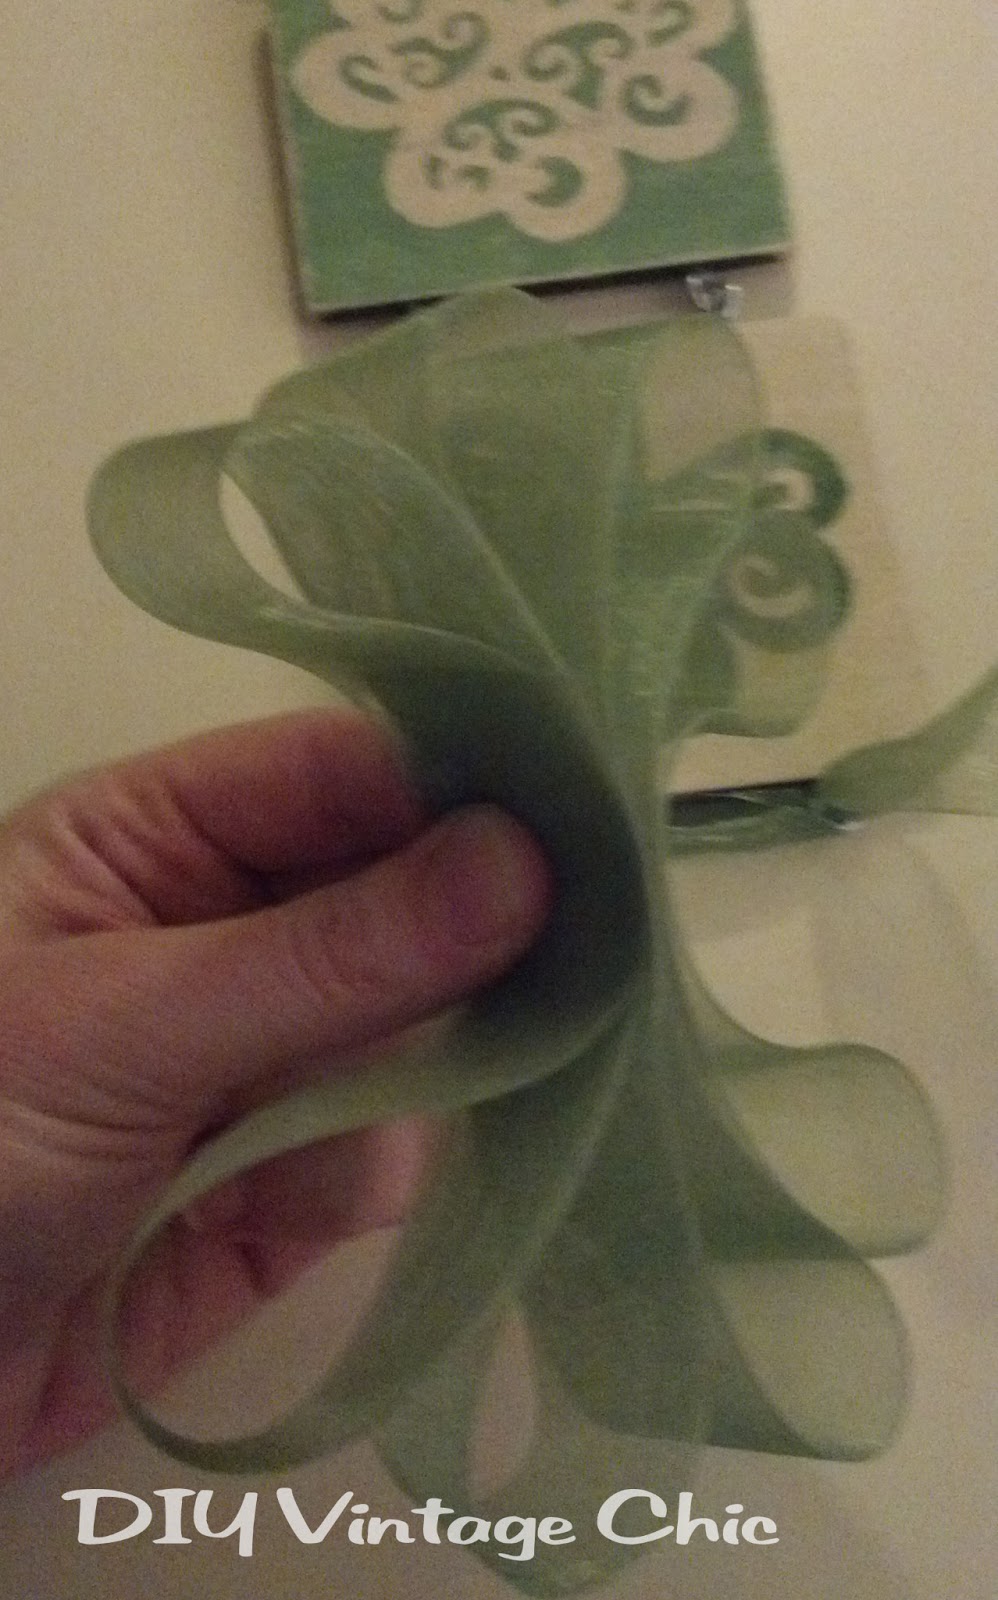
 Once all my squares were linked together with eye hooks I grabbed my ribbon. On the top square I thread the ribbon through the top two eye hooks.
 I created a bow similar to my Lighted Christmas Presents. There's a video to walk through the steps here.
 I added the bow on and trimmed off the extra
 And I was ready to hang my new St Patty's Decoration!


 Happy St. Patrick's Day everyone!
Thanks for stopping by!
Becca
Linking up with:
Crafty Spices' Wordless Wednesday, SaltTree's SaltTree Social, Knick of Time Interiors' Knick of Time Tuesday, Savvy Southern Style's Wow Us Wednesday, Primp Junktion's Primp Your Stuff Wednesday, The Thrifty Home's Penny Pinching Party, My Girlish Whim's Your Whims Wednesday, So Much Ado's We Did It! Wednesday, Someday Crafts' Whatever Goes Wednesday, Ginger Snap Crafts' Wow Me Wednesday, My Favorite Finds' Pinworthy Projects Party, Embracing Change's Creative Inspiration Linky Party, The Shabby Creek Cottage's Transformation Thursday, The Brambleberry Cottage's Time Travel Thursday, Beyond the Picket Fence's Under $100 Linky Party, French Country Cottage's Feathered Nest Friday, Common Ground's Be Inspired, Redoux's Linky Party, Shabby Art Boutique's Shabbilicious Friday Link Party, I Should Be Mopping the Floor's Mop It Up Monday's, Craft-O-Maniac's CraftOManiac Monday Linky Party, SaltTree's SaltTree Social, Lil Luna's Lil Luna Link Party, Bloom Design's Linky Party,

Scrap wood ~ same size
Sandpaper
St Patty's Day image
Paint ~ green, white, black
18 Eye Hooks
Needle-nose pliers
Green Ribbon
I found this free printable image at Blooming Homestead


I also painted the sides of the wood black.


Thanks for stopping by!
Becca
Linking up with:
Crafty Spices' Wordless Wednesday, SaltTree's SaltTree Social, Knick of Time Interiors' Knick of Time Tuesday, Savvy Southern Style's Wow Us Wednesday, Primp Junktion's Primp Your Stuff Wednesday, The Thrifty Home's Penny Pinching Party, My Girlish Whim's Your Whims Wednesday, So Much Ado's We Did It! Wednesday, Someday Crafts' Whatever Goes Wednesday, Ginger Snap Crafts' Wow Me Wednesday, My Favorite Finds' Pinworthy Projects Party, Embracing Change's Creative Inspiration Linky Party, The Shabby Creek Cottage's Transformation Thursday, The Brambleberry Cottage's Time Travel Thursday, Beyond the Picket Fence's Under $100 Linky Party, French Country Cottage's Feathered Nest Friday, Common Ground's Be Inspired, Redoux's Linky Party, Shabby Art Boutique's Shabbilicious Friday Link Party, I Should Be Mopping the Floor's Mop It Up Monday's, Craft-O-Maniac's CraftOManiac Monday Linky Party, SaltTree's SaltTree Social, Lil Luna's Lil Luna Link Party, Bloom Design's Linky Party,


That's quite simple! And it looks great on your door.
ReplyDeleteThis is adorable. Great tutorial, too. Thanks for sharing at Pinworthy Projects.
ReplyDeleteAwesome project! Thanks for the step by step - that helps alot.
ReplyDeleteI found you today at Salt Tree's Linky. I hope you can stop by my blog and leave a comment, too!
~ Megin of VMg206
www.vmg206.blogspot.com
Sharing on my FB page tomorrow!
ReplyDeleteThanks Carrie! I already Liked your page!
Delete