DIY Beach Clock
Don't forget to stop by and Like my Facebook Page and Follow me on Twitter!

The last few months I've been decluttering and organizing the living room. I started removing even some of my own projects, like my Vintage Clock. But I thought maybe a clock could look good in our Beachy Cottage Bedroom.
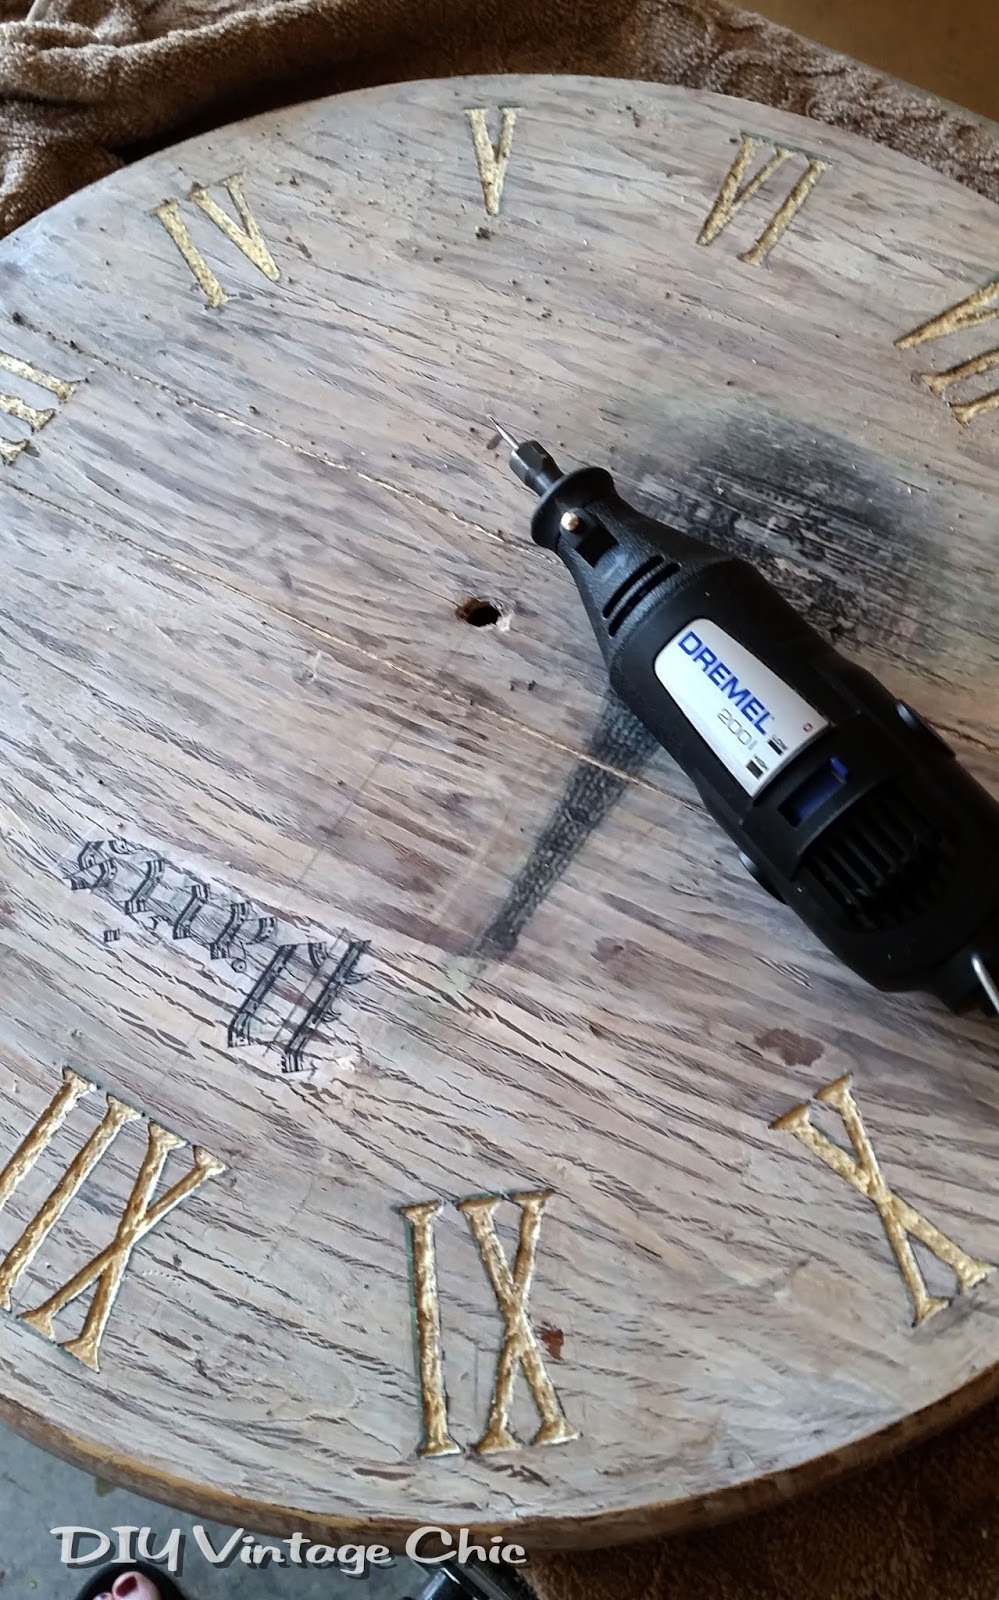
 So I got to work redoing the clock. I've been on a Dremel kick lately so I decided to drill out the Roman Numerals.
 I also wanted the clock to look like old boards so I drilled out some lines as well.
 The next few steps were adding layers and layers of blues, whites/creams and even a little red.


 I finally finished by sanding down all the layers.


 Before and After:

Thanks for stopping by!

Check out who I've linked up with this week by going to my Linky Party Page!

The last few months I've been decluttering and organizing the living room. I started removing even some of my own projects, like my Vintage Clock. But I thought maybe a clock could look good in our Beachy Cottage Bedroom.


Thanks for stopping by!

Check out who I've linked up with this week by going to my Linky Party Page!
***While I'm thrilled to share my step-by-step directions, the good and the bad, these are intended for your personal use. I'm always happy to hear and see what my bloggers have been working on. BUT a lot of work goes into these creations and while I have no issues sharing so you are able to create the work for your precious homes please understand that selling an exact duplication of my designs is highly frowned upon. :( Please always be considerate of another artists work. Thank you!***


I LOVE this! Beautifully done :)
ReplyDeleteLove the redo on your clock face :) We just started a new link party yesterday--Vintage Charm--and this post would make a lovely addition. We'd love to have you! Adirondack Girl @ Heart
ReplyDelete